
Blog / Guide
Write to UsHow to Set Up a Proxy on Android
June 20, 2026
Guide
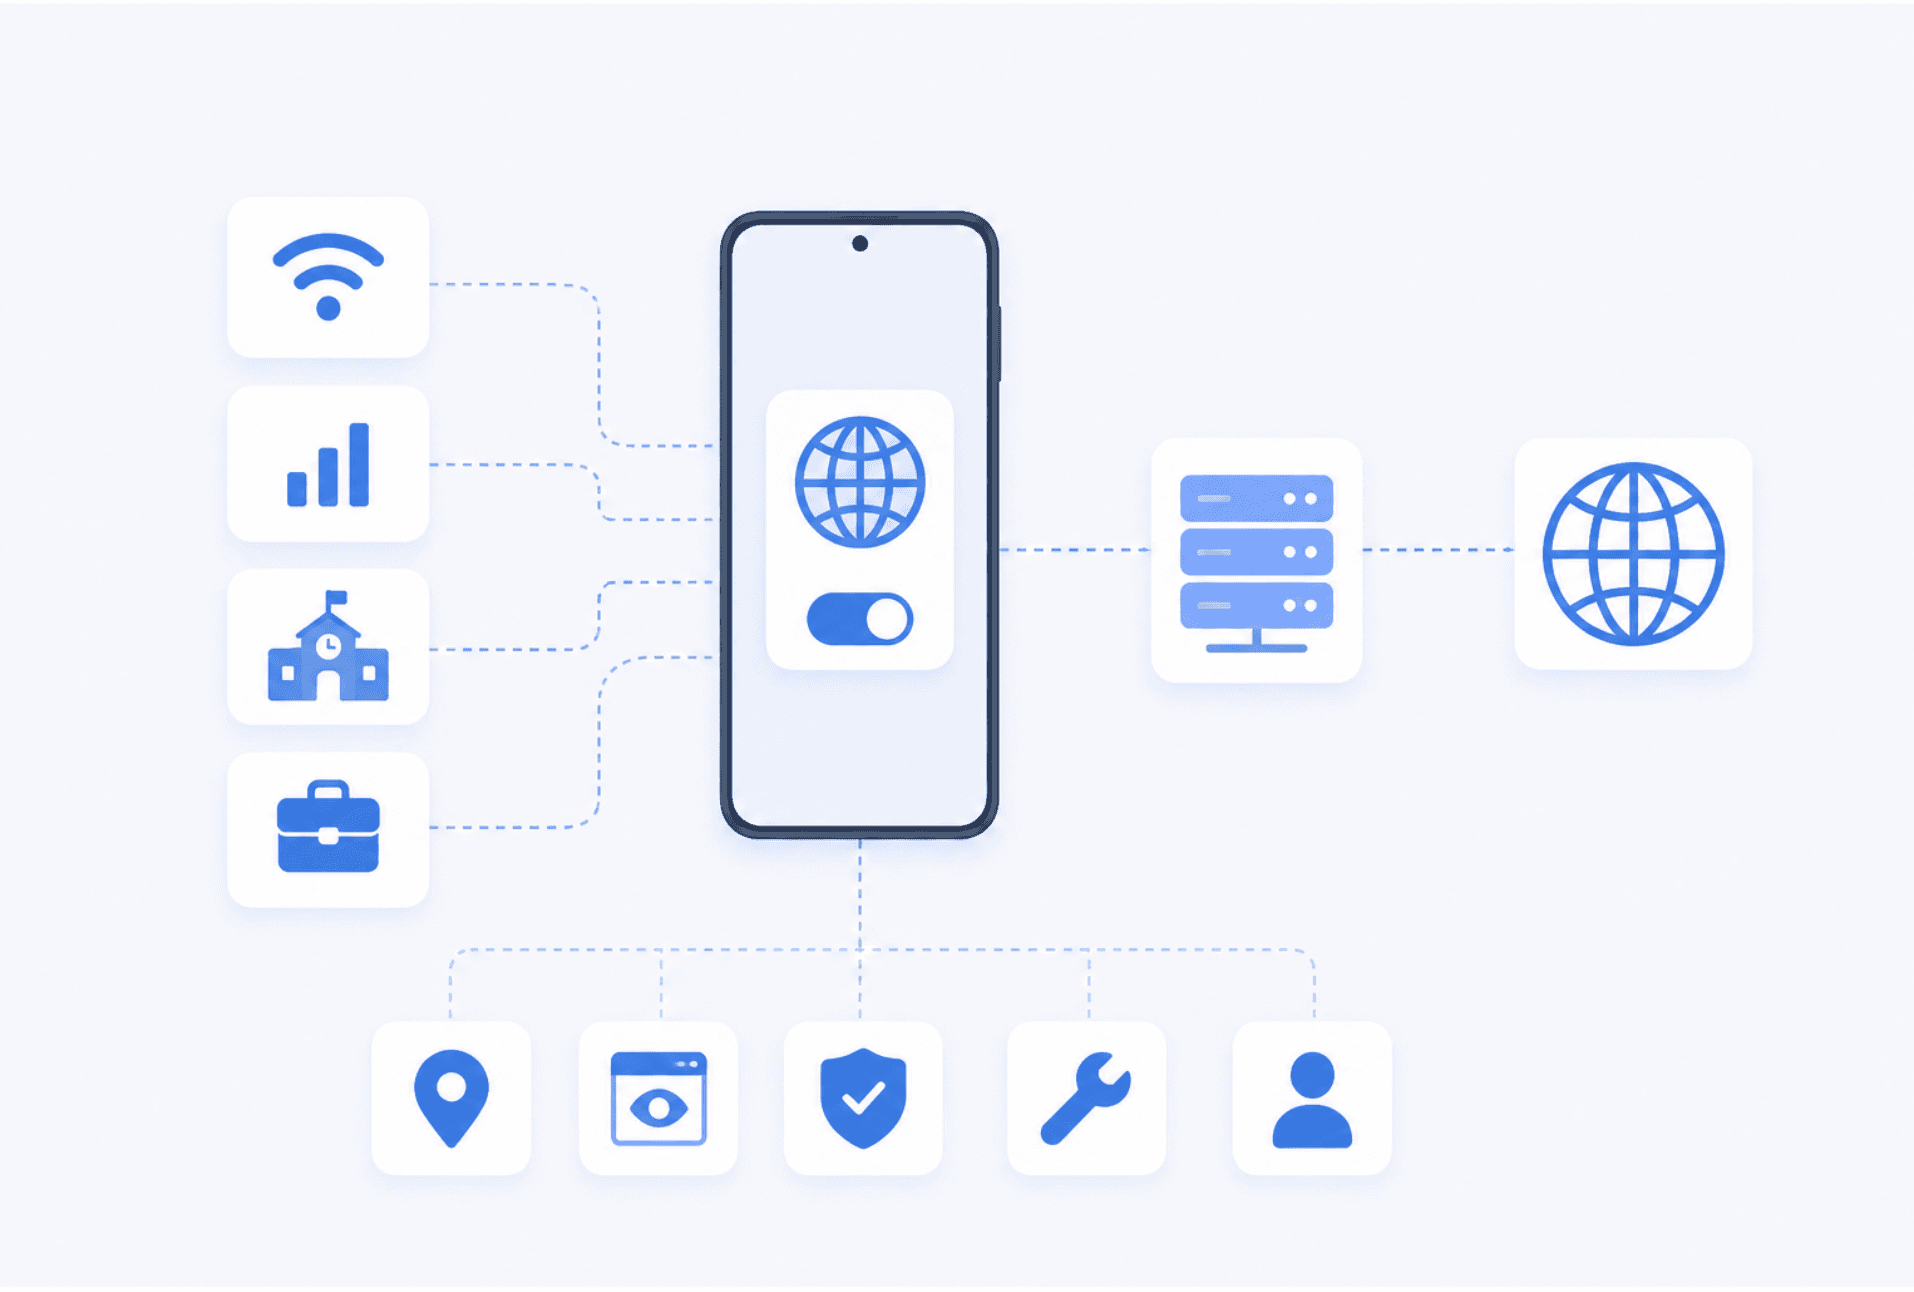
Setting up a proxy on Android is simple once you know where to look. The important thing to understand first is that Android proxy settings usually apply to a specific Wi-Fi network. That means if you add a proxy while connected to your home Wi-Fi, it will not automatically work on another Wi-Fi network or on mobile data.
This is where many people get confused. They set a proxy on Android, switch networks, and think the proxy stopped working. In reality, the proxy setting may only be saved for the network where it was added.
This guide explains what an Android proxy is, how to set one up manually, when to use a proxy app, why mobile data works differently, and how to fix common Android proxy problems.
What Is an Android Proxy?
An Android proxy is a server that sits between your Android device and the websites or online services you visit. Instead of your phone connecting directly to a website, your traffic is sent through the proxy server first. The website then sees the proxy server's IP address instead of your normal network IP address.
In simple terms, a proxy changes the route your connection takes. A proxy on Android can be useful for:
- Browsing through a different IP address
- Testing websites from another location
- Checking how content appears in different regions
- Troubleshooting IP blocks
- Managing access on school or company networks
- Working with apps or tools that require a proxy
- Separating normal browsing from testing or research tasks
Most Android users set up a proxy through Wi-Fi settings. This is good for simple browsing and testing, but it does have limits. The proxy usually applies to that Wi-Fi network, not to every connection on the phone.
When Would You Use a Proxy on Android?
There are several normal reasons to use a proxy on Android. You may want to test how a website loads from a different IP address. You may need to check whether a website is blocking your current IP. You may be working with a company or school network that requires a proxy. Or you may be managing online tasks where a specific proxy connection is needed.
For example, marketers and SEO teams sometimes use proxies to check localized search results or test websites from different locations. Developers may use proxies to debug traffic. QA teams may use them to reproduce issues from different networks.
If you need stable proxies for testing, browsing, or managing online access, Lightning Proxies is one option you can use before adding the proxy details to your Android device.
A proxy is not always the right tool for every situation. If your goal is simple full-device privacy, a VPN may be easier. But if you specifically need a proxy server on Android, the built-in Wi-Fi proxy settings are a good place to start.
How to Set Up a Proxy on Android Manually
Manual setup is the most common way to add a proxy on Android. The exact steps may look slightly different depending on your phone. Samsung, Google Pixel, Xiaomi, OnePlus, and other Android devices all use similar settings, but the labels can vary a little.
Here is the general process:
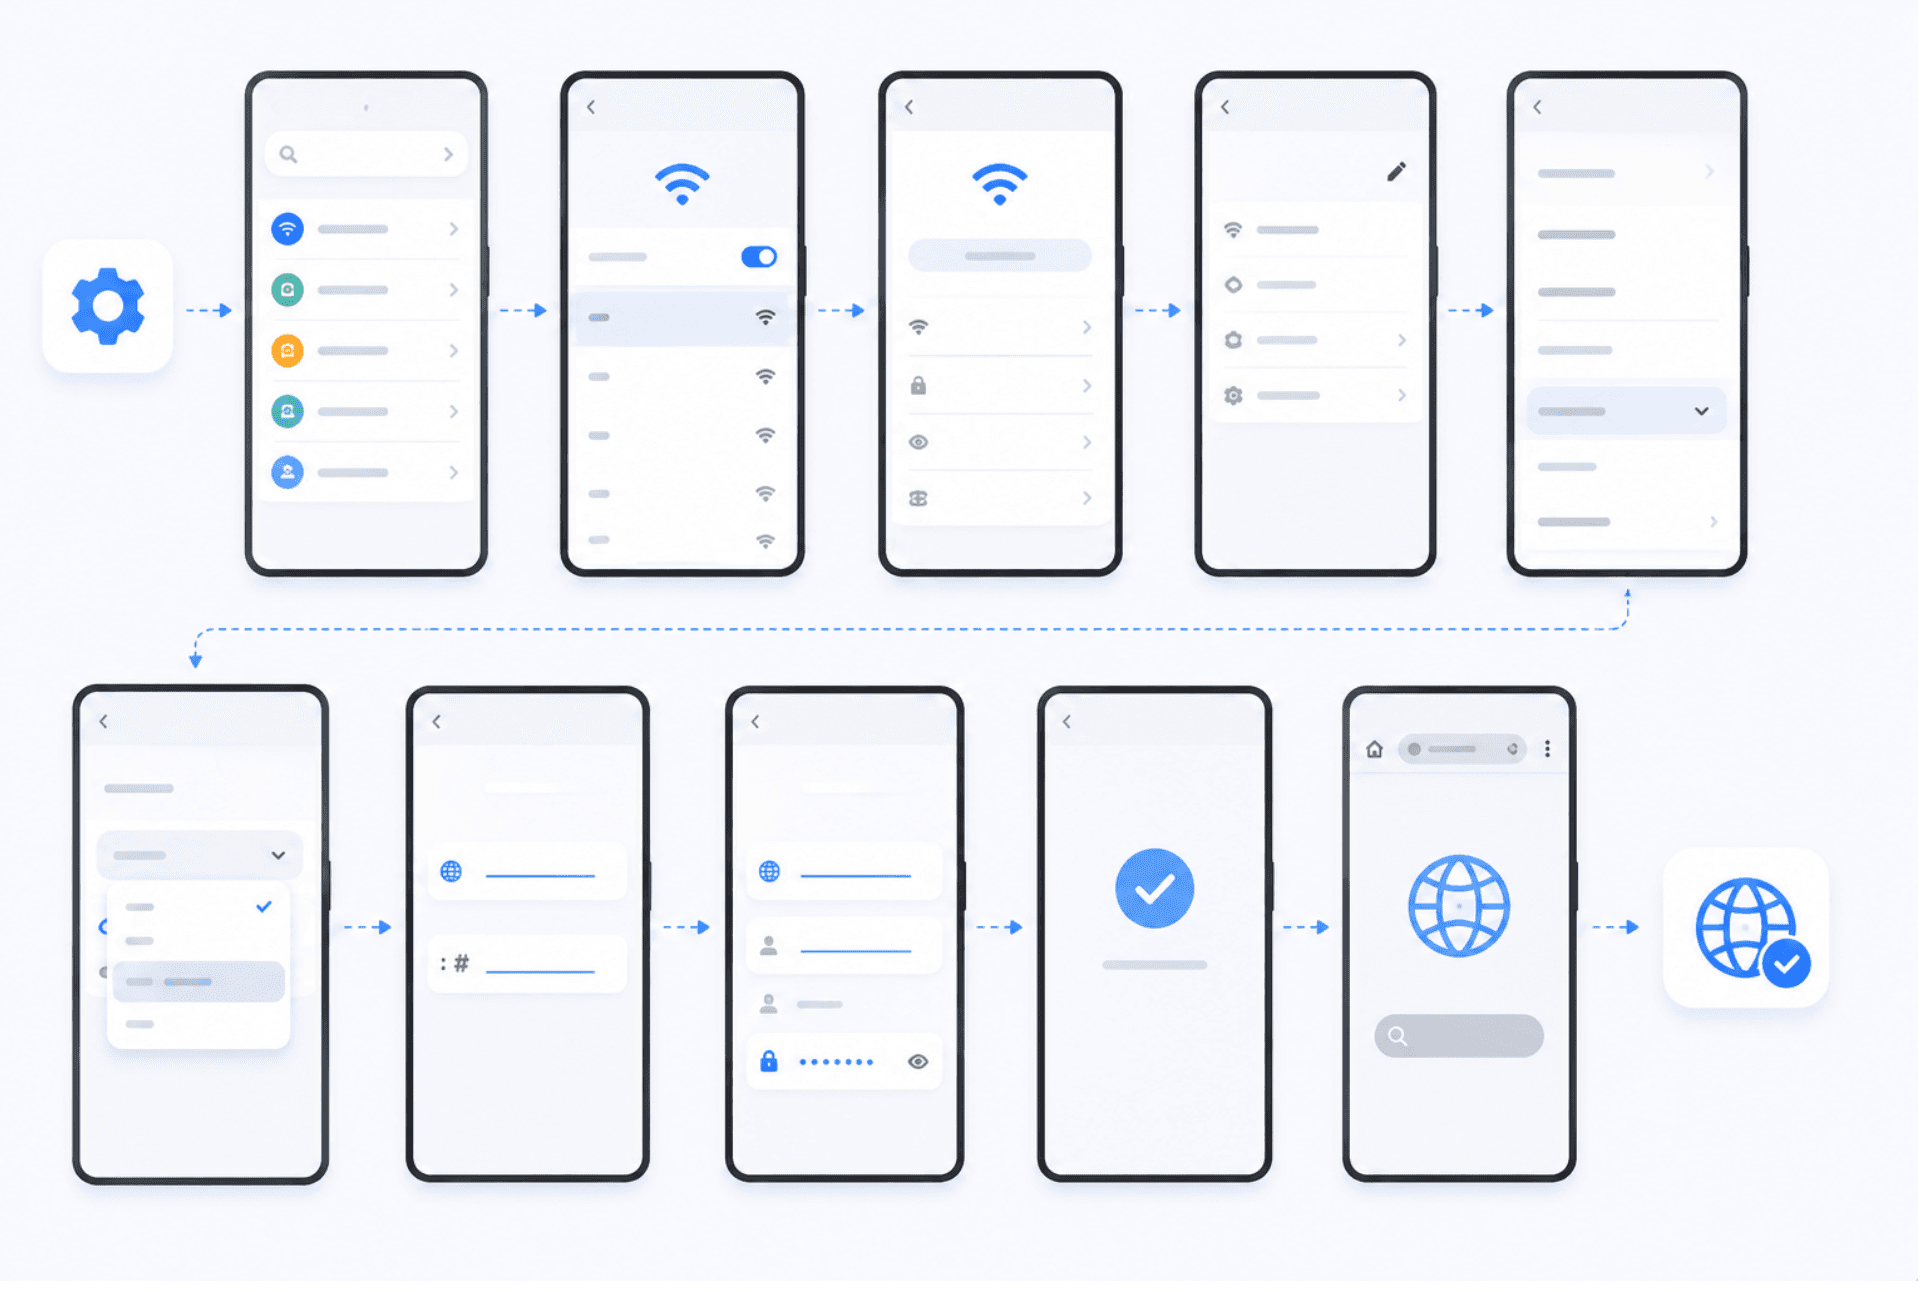
- Open Settings on your Android phone.
- Tap Network & Internet, Connections, or Wi-Fi.
- Tap Wi-Fi.
- Connect to the Wi-Fi network you want to use.
- Tap the network name or the gear icon next to it.
- Look for Proxy, Advanced options, or Modify network.
- Change Proxy from None to Manual.
- Enter the proxy hostname or IP address.
- Enter the proxy port.
- Save the settings.
- Open a browser and test the connection.
Your proxy provider should give you the details you need. Usually, this includes proxy host or IP address, port number, username if required, and password if required.
Some Android Wi-Fi proxy settings only ask for host and port. If your proxy requires a username and password, Android may ask for login details when an app or browser tries to connect. In some cases, you may need a proxy app if your proxy authentication does not work properly through the built-in Wi-Fi settings.
After setup, visit an IP checker in your browser. If the proxy is working, the visible IP address should match the proxy instead of your normal Wi-Fi connection.
How to Set Up a Proxy on Samsung Android Phones
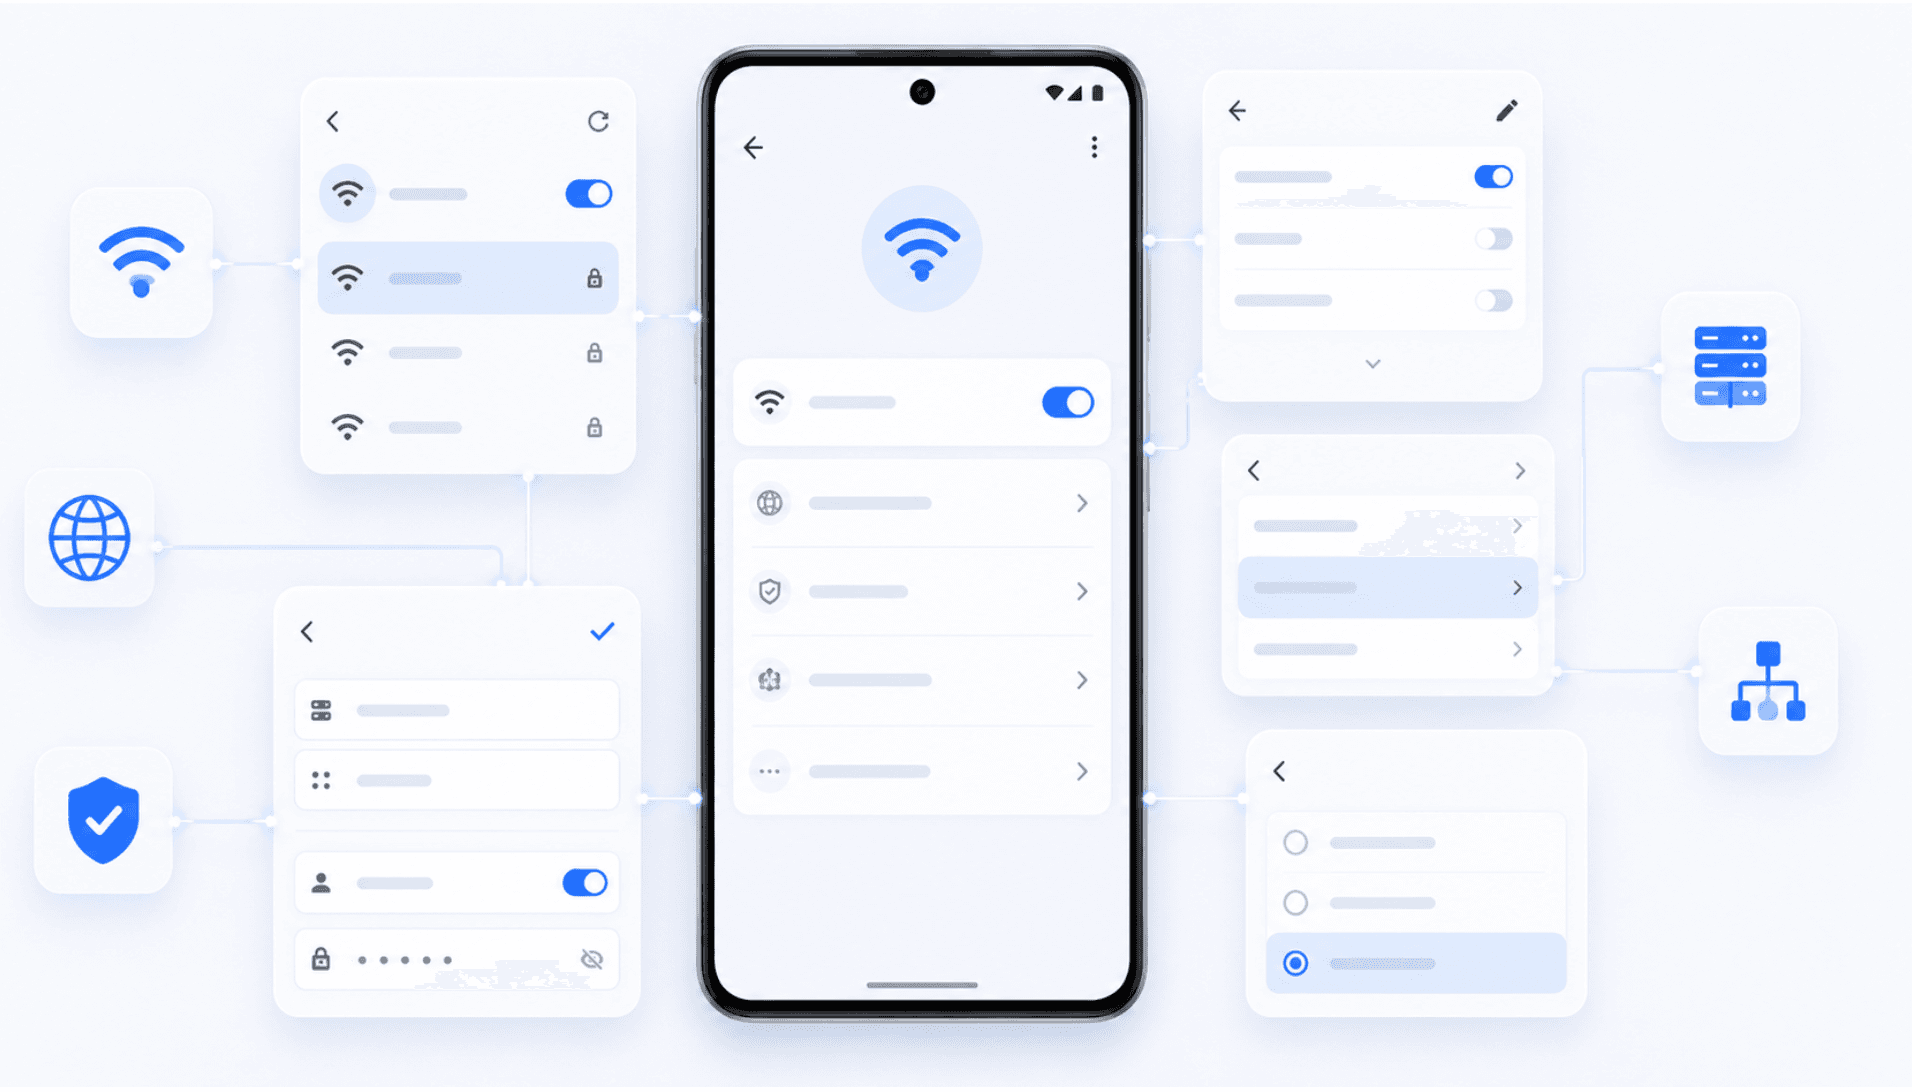
Samsung phones are very common, so it helps to show the process separately. To set up a proxy on a Samsung phone:
- Open Settings.
- Tap Connections.
- Tap Wi-Fi.
- Tap the gear icon next to your connected Wi-Fi network.
- Tap View more or Advanced.
- Find Proxy.
- Select Manual.
- Enter the proxy hostname.
- Enter the proxy port.
- Tap Save.
If you do not see the proxy option right away, look for advanced network settings. Samsung sometimes hides extra Wi-Fi options behind an expanded menu.
How to Set Up a Proxy on Google Pixel
On a Google Pixel, the path is usually slightly different. To set a proxy on Google Pixel:
- Open Settings.
- Tap Network & internet.
- Tap Internet.
- Tap the gear icon next to your Wi-Fi network.
- Tap the edit pencil icon if needed.
- Open Advanced options.
- Find Proxy.
- Select Manual.
- Enter the proxy hostname and port.
- Tap Save.
Once saved, open Chrome or another browser and test whether your IP address has changed.
How to Use Automatic Proxy Configuration on Android
Some networks use automatic proxy configuration instead of manual proxy details. This usually means you are given a PAC file URL. PAC stands for proxy auto-configuration. It tells your device when to use a proxy and which proxy server to use. This is more common on company, school, or managed networks.
To use automatic proxy setup on Android:
- Open Settings.
- Go to Wi-Fi.
- Tap your connected Wi-Fi network.
- Open the proxy settings.
- Choose Proxy Auto-Config or a similar option, if available.
- Enter the PAC URL.
- Save the settings.
- Test your connection.
Not every Android phone shows the same automatic proxy option. If you do not see it, your device may only support manual proxy setup through the normal Wi-Fi menu. In that case, you may need a separate app or a managed device profile.
Can You Use a Proxy on Android Mobile Data?
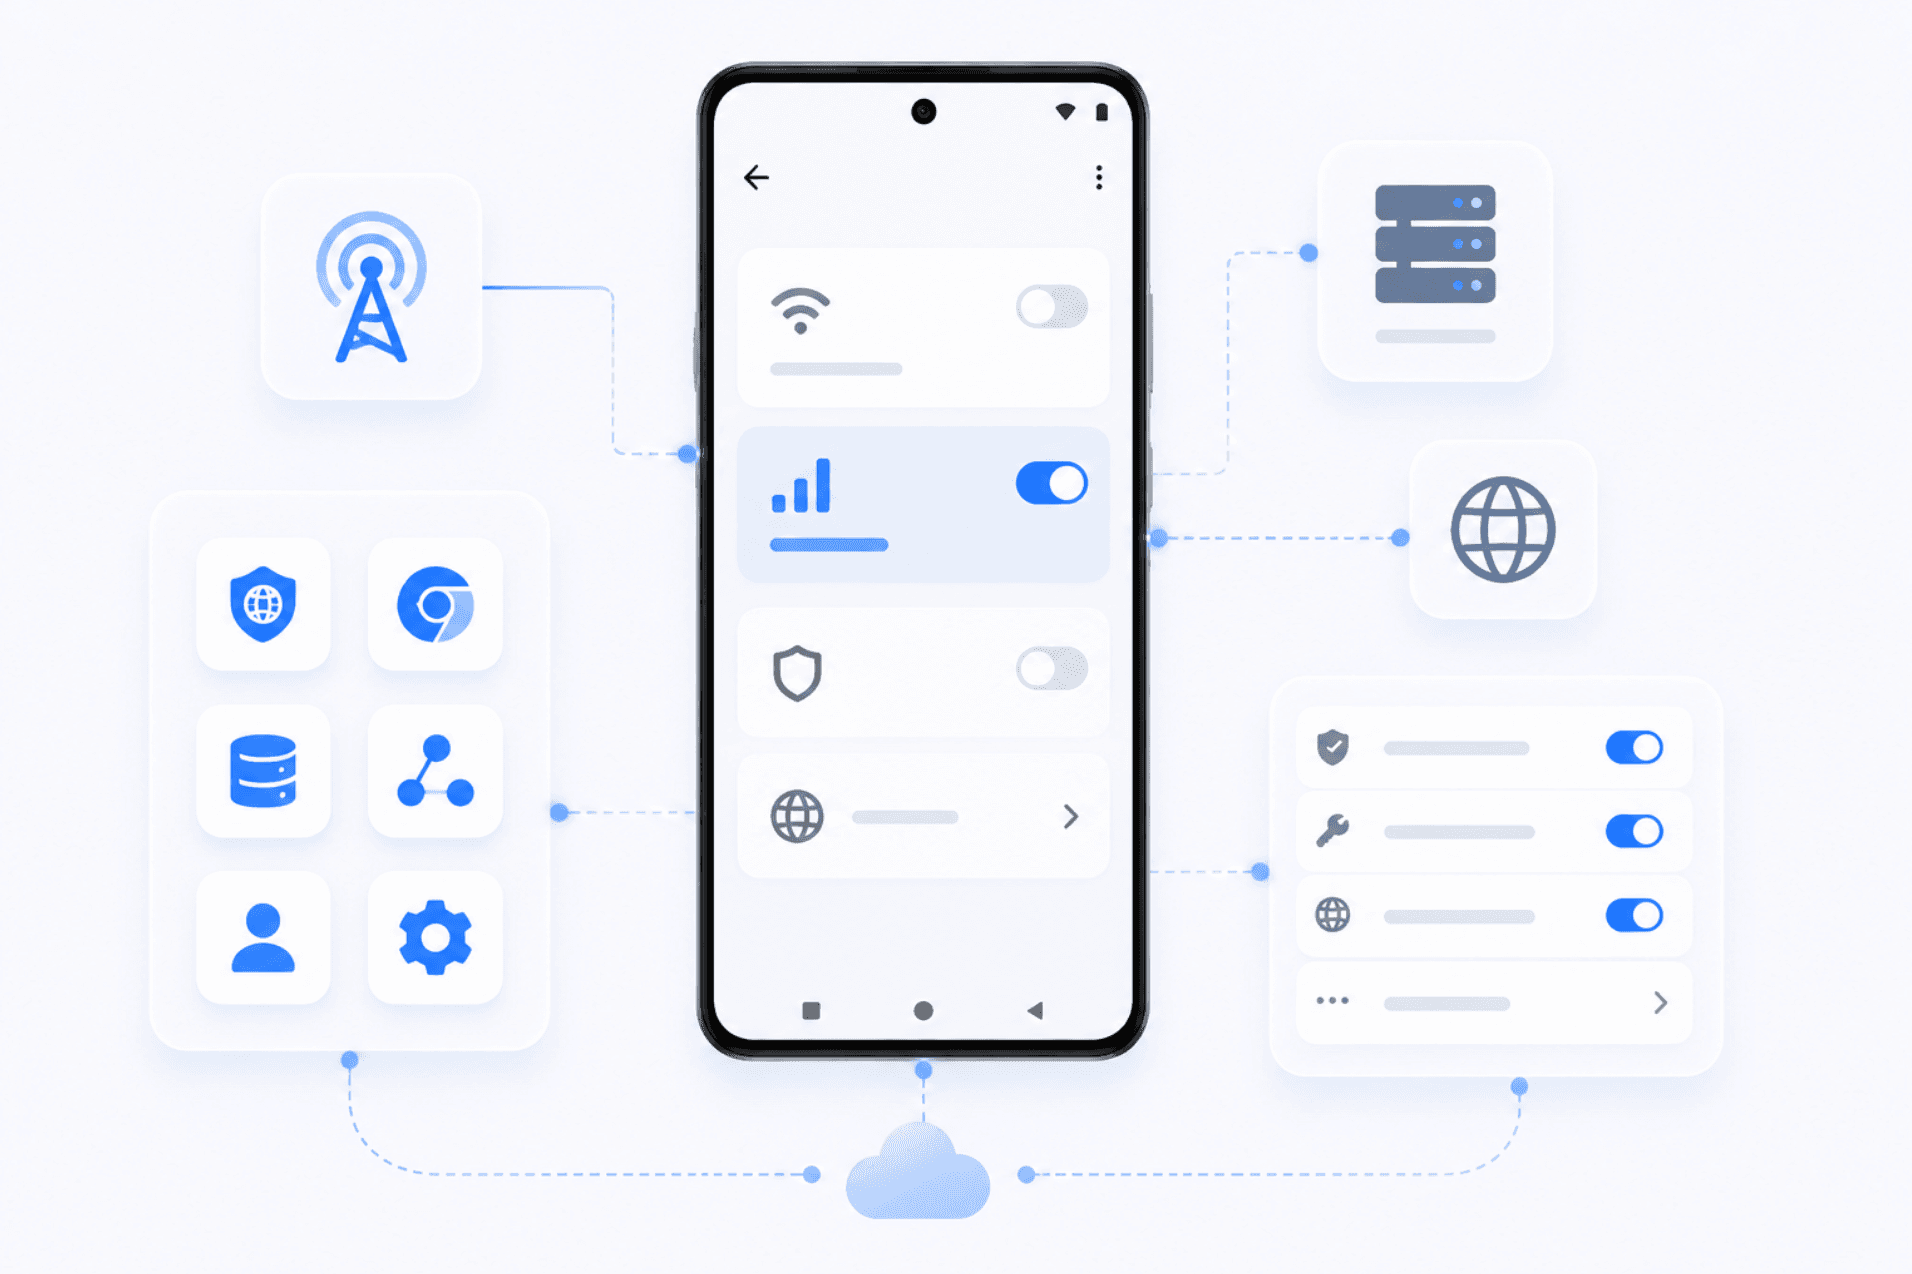
This is one of the most common Android proxy questions. The normal built-in proxy setting is usually part of the Wi-Fi network configuration. That means it applies to Wi-Fi, not automatically to mobile data.
If you set a proxy while connected to Wi-Fi and then switch to 4G or 5G, the proxy may no longer be active. To use a proxy with Android mobile data, you may need one of these options:
- A proxy app
- A browser with built-in proxy settings
- A VPN-style proxy app
- A company device profile
- A custom APN setup, if supported by your carrier
- A third-party tool that routes app traffic through a proxy
For most personal users, a proxy app or VPN-style app is the easiest option for mobile data. For managed company devices, IT teams may use device management tools to apply broader network rules.
If you only need a proxy for browser testing, you may not need full-device proxy support. A browser-level proxy tool may be enough.
How to Turn Off Proxy Settings on Android
If your internet suddenly stops working after adding a proxy, turn the proxy off and test again. Here is how to remove proxy settings on Android:
- Open Settings.
- Go to Wi-Fi.
- Tap the network you are connected to.
- Open Advanced options or Modify network.
- Find Proxy.
- Change it to None.
- Save the settings.
- Reconnect to Wi-Fi if needed.
After turning the proxy off, open a browser and check whether websites load normally. If they do, the issue was likely the proxy server, port, credentials, or authentication method.
Android Proxy Not Working? Common Fixes
If your Android proxy is not working, start with the basics. Most proxy problems are caused by small setup mistakes.
Check the Proxy Host
Make sure the hostname or IP address is entered correctly. Do not add extra spaces. If your proxy provider gave you a hostname, use that exact hostname.
Check the Port
The port must match the proxy service. If the port is wrong, your phone may not connect properly.
Check Username and Password
If your proxy requires authentication, make sure the username and password are correct. Passwords are often case-sensitive. Some Android setups do not handle proxy username and password smoothly through the normal Wi-Fi proxy menu. If authentication keeps failing, try a proxy app or check whether your provider supports IP whitelisting.
Check Whether the Proxy Is Active
Proxy servers can expire, rotate, or go offline. If the proxy details used to work but no longer do, test the proxy on another device or contact your provider.
Confirm You Are on the Right Wi-Fi Network
Android proxy settings are usually saved per Wi-Fi network. If you configured the proxy on one network, then connected to another, the proxy may not be active anymore.
Test in a Browser First
Open Chrome and check whether websites load. Then use an IP checker to see if your IP address changed. If Chrome works but another app does not, the app may not be using the Android Wi-Fi proxy setting.
Restart Wi-Fi
Turn Wi-Fi off and on again. You can also forget the network and reconnect.
Try Another Proxy
If the settings look correct but nothing works, test another proxy. This helps you understand whether the problem is your Android setup or the proxy server itself.
Turn the Proxy Off
Set Proxy back to None. If your internet works immediately after turning it off, the issue is almost certainly related to the proxy configuration.
Manual Proxy vs Proxy App on Android
You can use a proxy on Android in two main ways: through built-in Wi-Fi settings or through a proxy app.
Manual Wi-Fi Proxy
A manual Wi-Fi proxy is simple and does not require extra apps. It is useful when you only need the proxy on one Wi-Fi network, you are testing websites in a browser, your proxy uses simple host and port settings, you do not need mobile data support, and you do not need advanced routing rules.
The downside is that it may not work for every app. It also usually does not apply to mobile data.
Proxy App
A proxy app gives you more control. It can be useful when you need proxy support beyond Wi-Fi, username and password authentication, routing for specific apps, SOCKS5 support, easier switching between proxies, or more advanced settings.
The downside is that not every proxy app is trustworthy. Be careful with apps that ask for too many permissions or come from unknown developers.
Android Proxy vs VPN
A proxy and a VPN are often used for similar reasons, but they are not the same. A proxy routes traffic through a proxy server. Depending on your setup, it may only affect browser traffic, Wi-Fi traffic, or certain apps. A VPN usually routes more device traffic through an encrypted connection. It is often easier if you want protection across both Wi-Fi and mobile data.
Use an Android proxy if you want:
- A specific proxy server
- Browser or app testing
- Location testing
- SEO checks
- Access through a company or school proxy
- A setup tied to one Wi-Fi network
Use a VPN if you want:
- Simpler full-device coverage
- Encryption on public Wi-Fi
- Protection across mobile data and Wi-Fi
- A one-tap app setup
- General privacy rather than specific proxy routing
For testing and controlled browsing, a proxy can be the better tool. For simple privacy across the whole phone, a VPN is usually easier.
Are Android Proxies Safe?
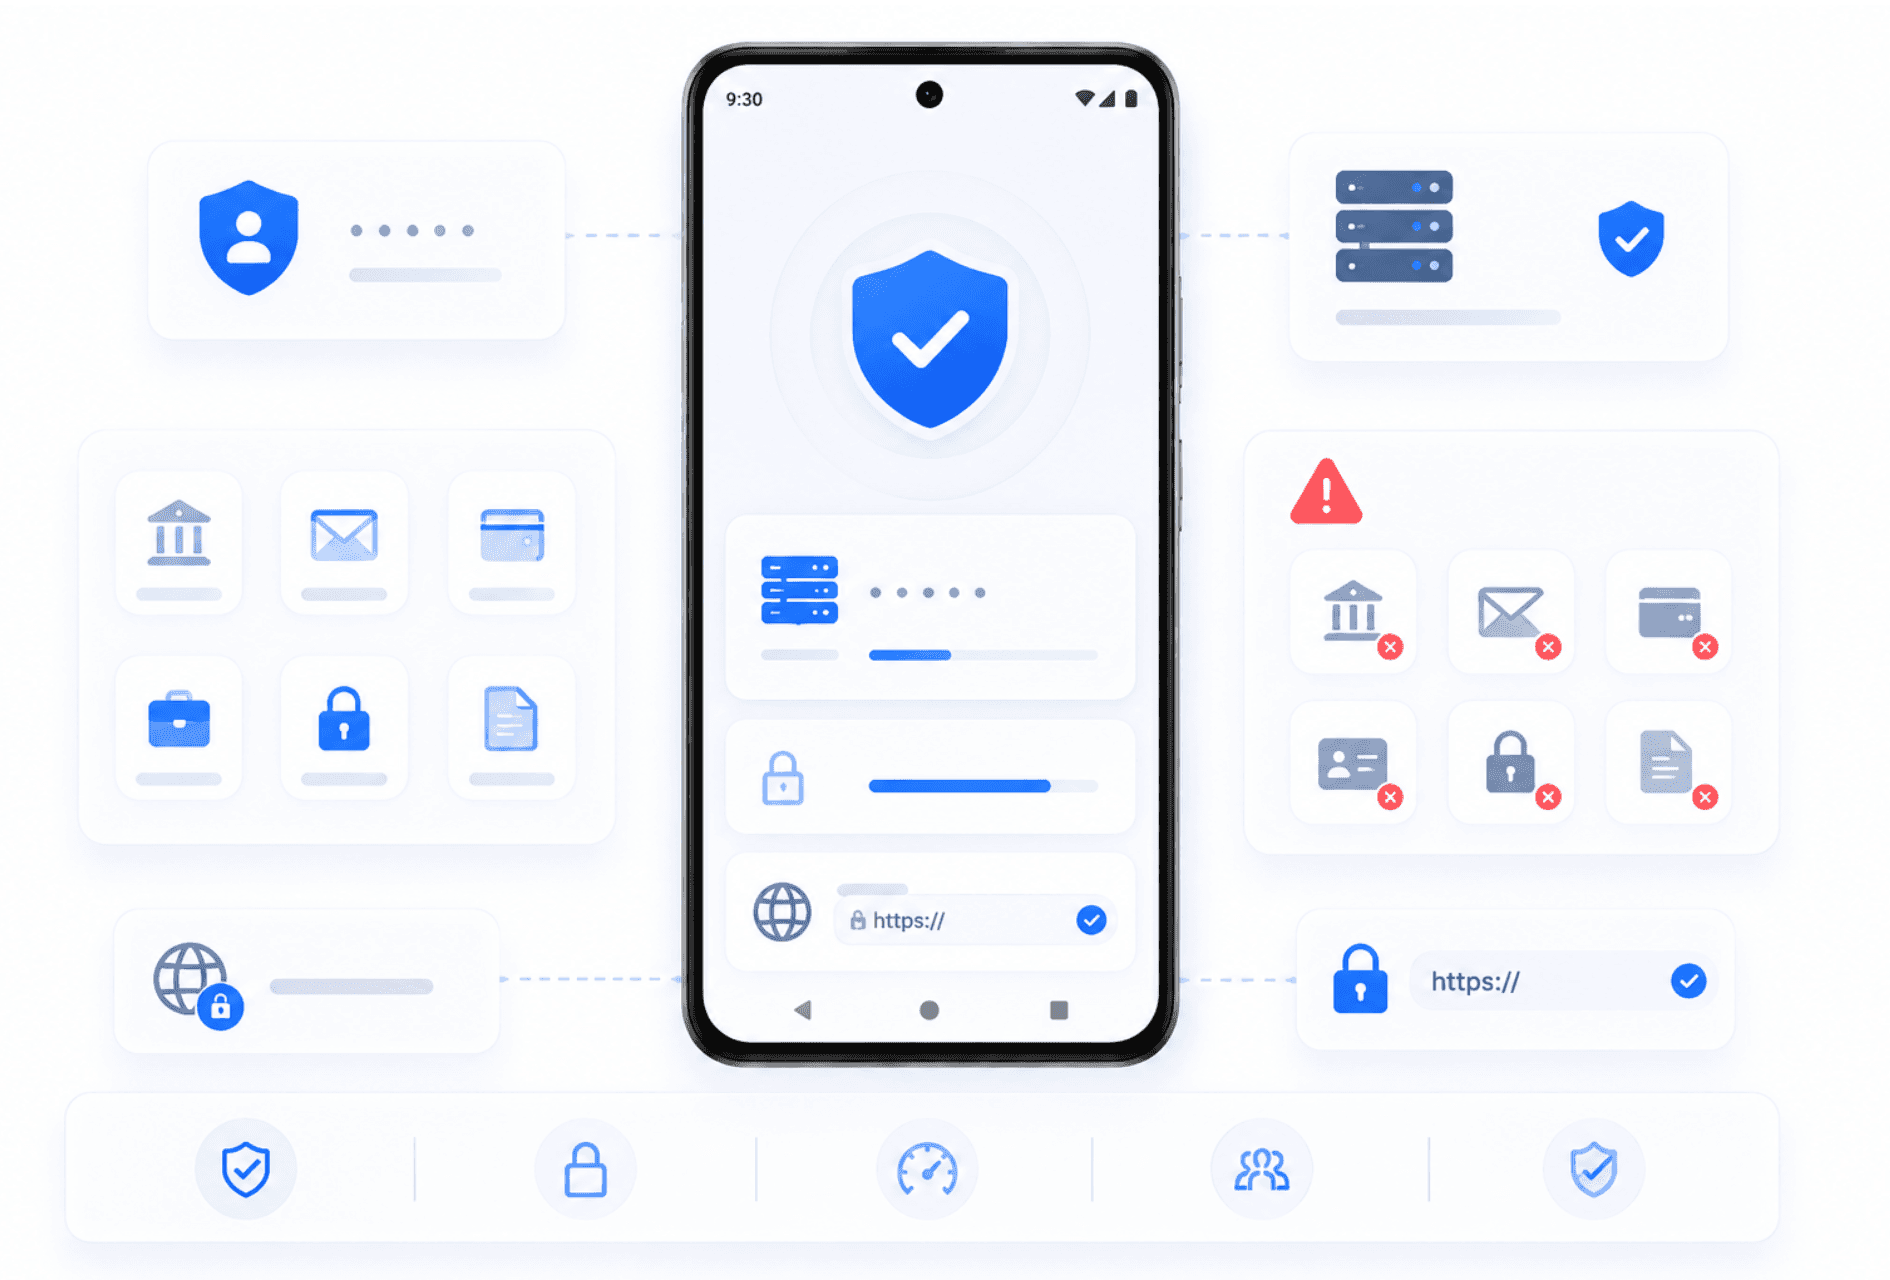
Android proxies can be safe, but only if you trust the proxy provider and understand what the proxy is doing. A proxy server handles your traffic before it reaches the website. That means a bad or unknown proxy provider could create privacy or security risks.
Be careful with proxies when using:
- Banking apps
- Email accounts
- Payment pages
- Work accounts
- Private documents
- Personal logins
- Sensitive business tools
Avoid random free proxies for anything important. Free proxies are often slow, unstable, crowded, or risky. Also, use HTTPS websites whenever possible. HTTPS helps protect the content of your connection, even when traffic goes through a proxy.
Best Practices for Using a Proxy on Android
A proxy setup is easier to manage when you follow a few simple rules.
- Use a Trusted Provider. Do not send important traffic through unknown proxy servers. Use a provider you trust, especially for work or business tasks.
- Keep Proxy Details Private. Your proxy host, port, username, and password should be treated like login details. Do not share them publicly.
- Test After Setup. After adding the proxy, check your IP address in a browser. Make sure the proxy is actually working.
- Remember That Wi-Fi Settings Are Network-Specific. If you set a proxy on one Wi-Fi network, do not expect it to work everywhere. You may need to configure it again on another network.
- Turn Off Old Proxy Settings. If you no longer need a proxy, remove it. Old proxy settings can cause confusing connection issues later.
- Do Not Use Free Proxies for Sensitive Accounts. Free proxies may be fine for basic testing, but they are not a good choice for private accounts, payments, or business logins.
- Know When You Need an App. If the built-in Android proxy settings do not support your use case, a proxy app may be better. This is especially true for mobile data, SOCKS5, or advanced authentication.
FAQs About Android Proxy Setup
Where are proxy settings on Android?
Android proxy settings are usually found under Wi-Fi settings. Open Settings, go to Wi-Fi, tap your connected network, then look for Proxy, Advanced options, or Modify network.
How do I set a proxy on Android?
Does Android proxy work on mobile data?
Why is my Android proxy not working?
What is the proxy server on Android Wi-Fi settings?
Can I use SOCKS5 proxy on Android?
Should I use a proxy or VPN on Android?
How do I turn off proxy settings on Android?
Is using a proxy on Android safe?

June 20, 2026
Guide
How to Set Up a Proxy on iPhone
Learn how to set up a proxy on iPhone through Wi-Fi settings with manual and automatic setup, troubleshooting tips, and proxy vs VPN guidance.

December 10, 2025
Guide
What Is a Web Proxy & How It Works
Learn what a web proxy is, how it works, and why LightningProxies is the smart choice for your browsing needs.
February 18, 2026
Guide
What Is an HTTP Proxy?
Learn what an HTTP proxy is, how it works, and why it matters for web traffic, automation, and request routing.